
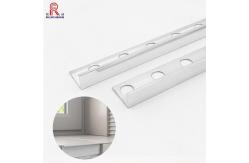
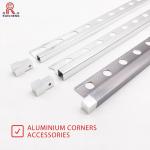
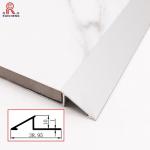
8mm Aluminium Tile Trim , ODM L Shaped Aluminum Trim Ceramic Protection
|
|
L Shape Alloy Aluminum Tile Trim Metal Corner Edge Ceramic
Protection
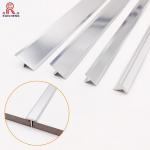
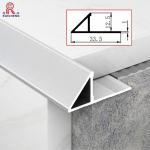
Use 1. Choose shape and profile according to tile thickness. 2. finish tiling one wall first, then trowel thin set mortar over corner areas of second wall. 3. Press the perforated anchoring leg of the profile into the mortar until mortar fills the circle cutouts. Then align trim with tile edge making sure the tile is flush against lower edge of trim face to ensure a uniform grout joint space between trim and tile. 4. Trowel additional thin set mortar evenly over the perforated anchoring leg completely covering the circle cutouts to ensure full coverage and support of the tile edges. The anchor leg should be partially buried in the sealant. 5. Ensure the tile is flush with top of profile or slightly lower. The profile should not be higher than the tiled surface, but rather up to approx. 1/32” (1 mm) lower. 6. After the tiles and profile have set, fill the grout joint completely with grout. 7. Gently wipe off any excess grout or thin set mortar immediately.
Specification
|
|||||||||||||||||||
| Product Tags: 8mm aluminium tile trim ODM 8mm aluminium tile trim Ceramic Protection l shaped aluminum trim |
|
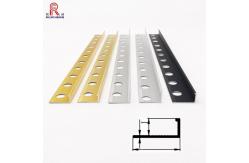
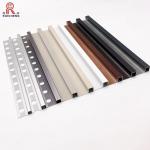
Powder Coating White Aluminum Tile Trim Square Edge Shape 3m Length T8 |
|
2mm Aluminum Tile Edge Trim , Anodized Square Ceramic Gold Metal Tile Trim |
|
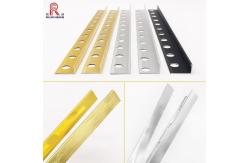
Brushed Aluminum Tile Trim 7.5mm Height Ceramic Protection T Shape |
|
T Shaped Aluminium Trim 0.55mm Thickness T3 Temper Anodizing Oxidation |
|
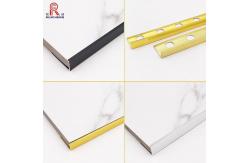
Anodised Aluminum Tile Trim 2mm Thickness Triangle Alu 6463 Material |
|
Polished Tile Aluminum Edge Trim , Triangle Tile Trim 10mm Height |